
Set up via PC (Remote Setup)
This section describes how to configure the system settings from a browser by connecting the product to your computer.
This setup method is only available for DIN mount type.
- Attach an Ethernet cable to the LAN port (ETH1) of this
product and connect your computer. To connect the computer to the
same network as the product, change the computer's IP address and
subnet mask as follows.
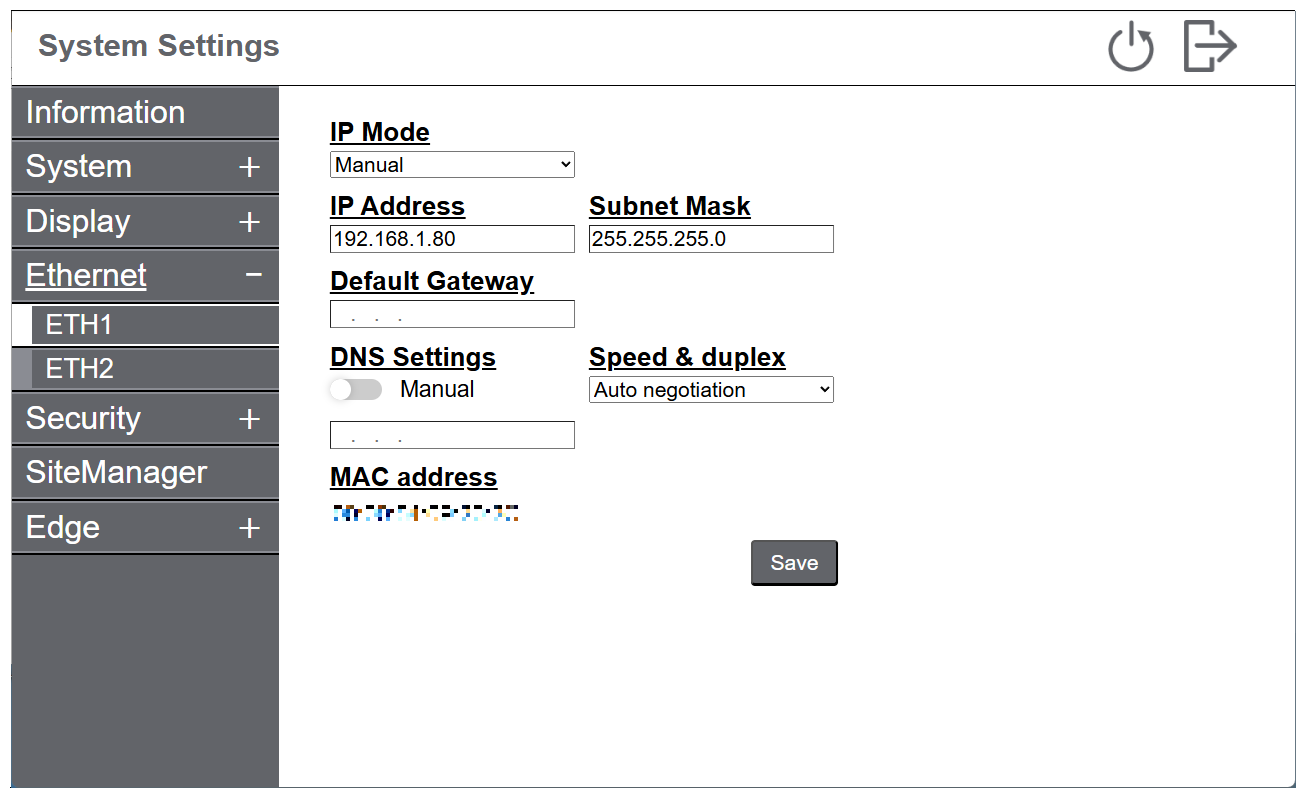
IP address: 192.168.1.* (any address other than 192.168.1.80)
Subnet Mask: 255.255.255.0
NOTE: If you are using Windows 11, set the IP address as follows:(1) From the Start menu, select Settings > Network & Internet.
(2) Click Properties next to Ethernet.
(3) Click Edit next to IP Address Assignment, select Manual from the drop-down menu, and then click Save.
(4) Enable IPv4, then enter the IP address, subnet mask, etc.
- Power on the product.
- Open a web browser on the computer, then enter the following
URL.
https://192.168.1.80:8443/
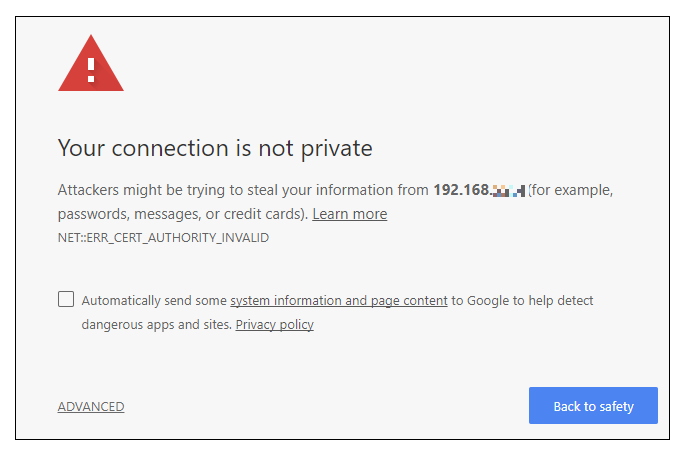
- When the connection is established, the HMI device send
a certificate to use for the encryption. Since the certificate is
not signed from a Certificate Authority you will get a warning message.
Click on ADVANCED options and choose to proceed.
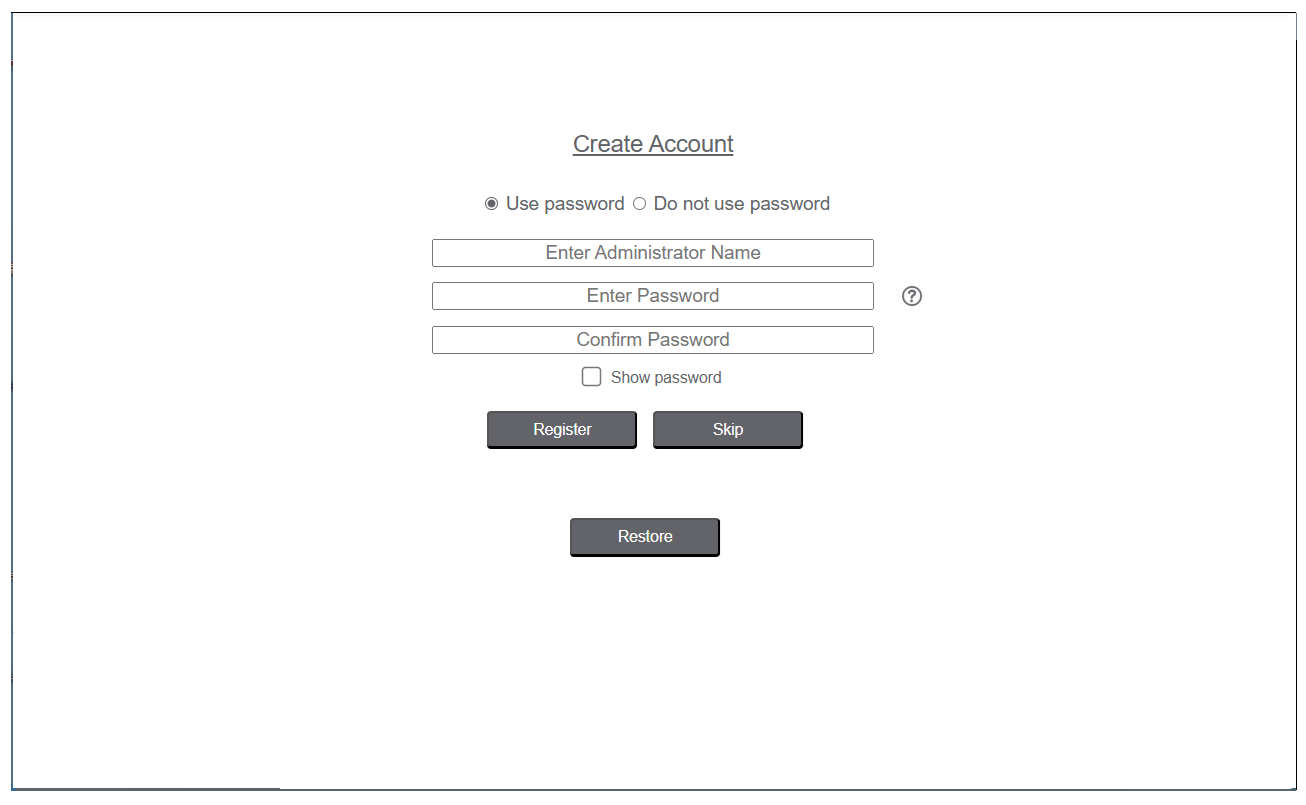
- The Create Account screen is displayed. Create an administrator user account for the System Settings. Enter the username and
password, then click the Register button.
 NOTE:
NOTE:-
Passwords should be at least 8 characters long and include at least one uppercase letter, one lowercase letter, one number, and one special character.
-
Although you can operate the product without using password authentication, we recommend setting a password to keep the product secure.
-
You can skip the creation of the administrator account and transfer the project files first. If you do that, you will be prompted to create an account the next time you try to view the System Settings.
-
You can change the password at any time. For details, refer to Change Password.
-
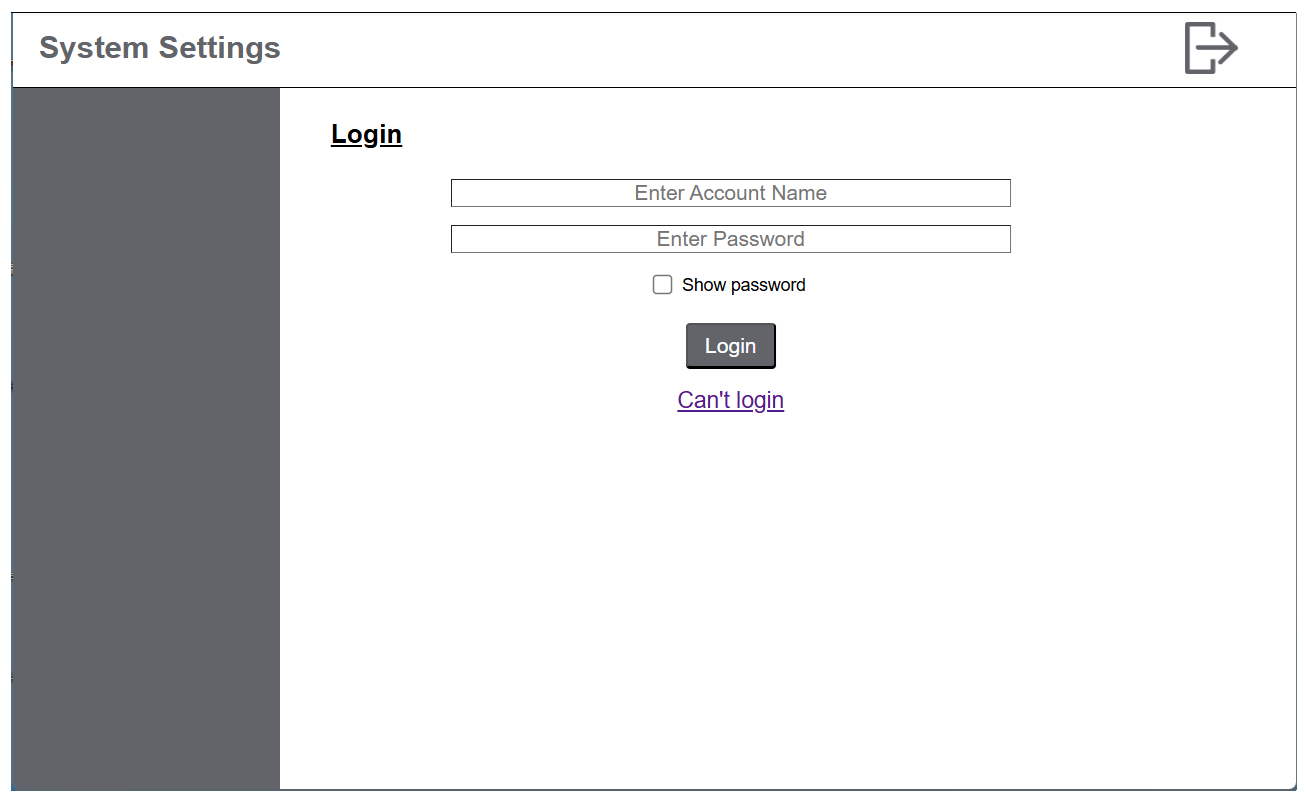
- The Login screen
is displayed. Enter the username and the password set earlier, then
click the Login button.
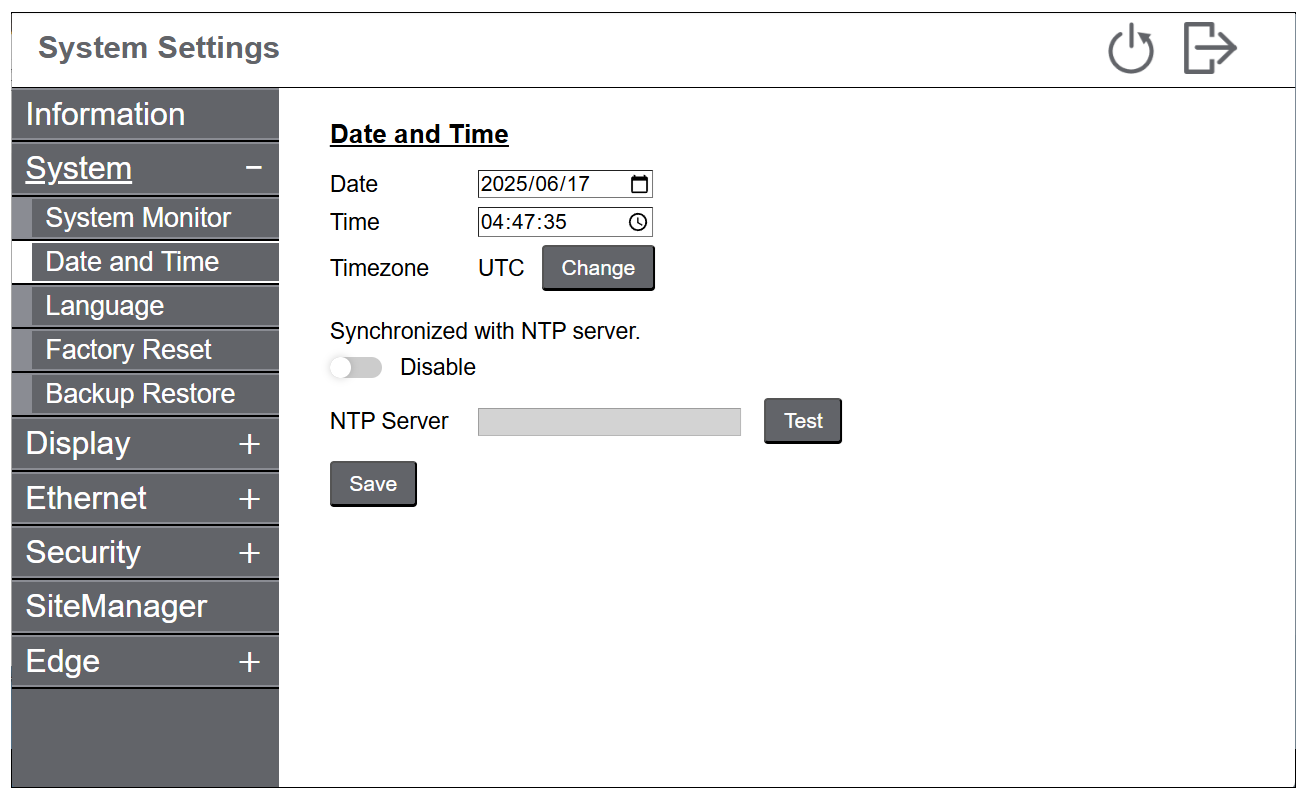
- The System Settings menu is displayed. Select System > Date and Time to set the
clock, and then click the Save button.
- From the menu, select Ethernet. Change the network settings as required and click the Save button.
- Change other settings as required. For information on system
settings functions, refer to System Settings Menu.NOTE: You can also add other user accounts if you selected Use password when creating the administrator account. For details, refer to Adding/Deleting a User Account. Use the account appropriate to the situation, such as using the standard user account during normal operations and using the administrator account only during system development and maintenance.
- Click the logout icon at the top right of the screen.
- Transfer the project file from the screen editing software. For information on how to transfer, refer to the manual of the screen editing software.