Replacing the Installation Gasket
The installation gasket provides protection against dust and moisture. The gasket must be inserted correctly into the groove for moisture resistance for this product.
| NOTICE |
|---|
|
GASKET AGING
Failure to follow these instructions can result in equipment damage.
|
| NOTICE |
|---|
|
EQUIPMENT DAMAGE
Be careful not to stretch the gasket unnecessarily.
Failure to follow these instructions can result in equipment damage.
|
|
Step |
Description |
|---|---|
|
1 |
Place this product on a flat, level surface, with the display face pointing down. |
|
2 |
Remove the gasket from this product. |
|
3 |
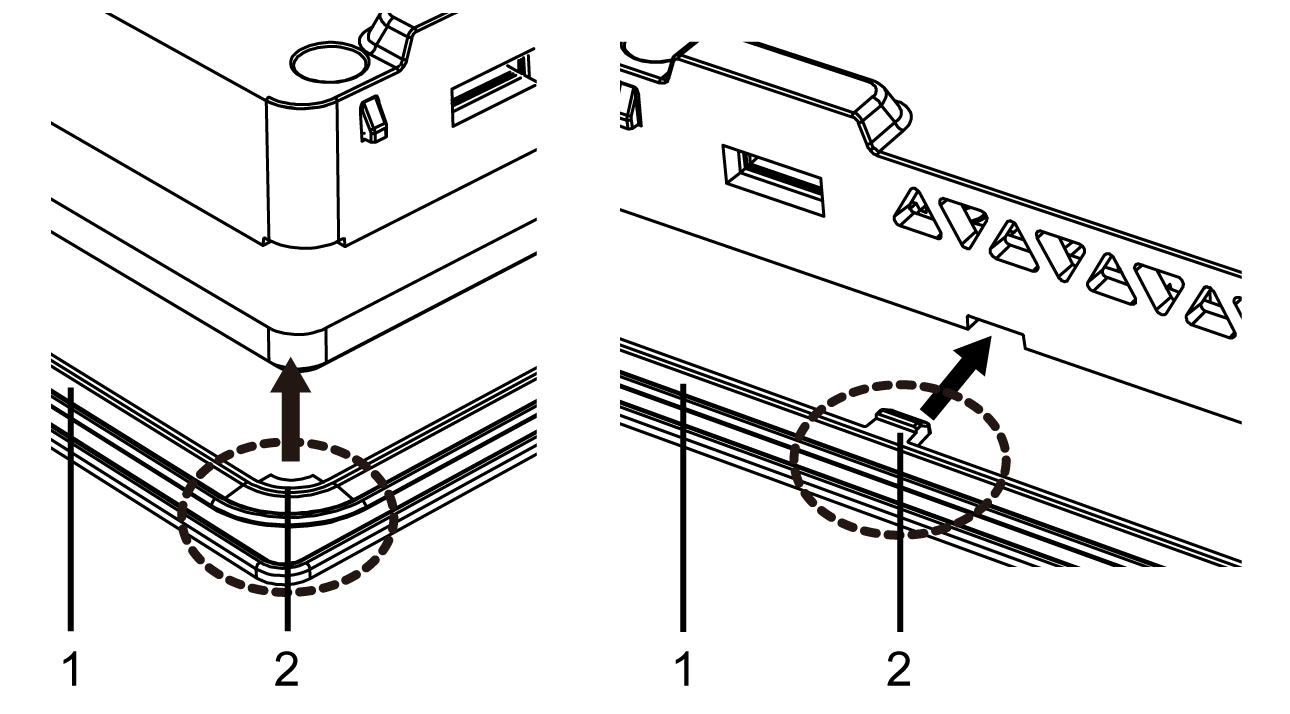
Attach the new gasket to this product. Insert the protrusions from the four corners of the gasket into the corresponding holes in the corners of this product. Depending on your model, there may be additional protrusions. In the following, refer to the figure on the right and insert the protrusions accordingly. NOTE: When using a tool to insert the gasket, make sure
the tool does not catch the rubber gasket and cause a tear.
1 Installation gasket 2 Protrusion |